React Native app using Split Node.js SDK example
Example: Basic example for React Native app project using JavaScript SDK
Example Repo: https://github.com/splitio/react-native-sdk-example
This project was bootstrapped with Expo-CLI using its Managed Workflow.
$ npm install -g expo-cli
$ expo init react-native-sdk-example
$ cd react-native-sdk-example/
$ npm install --save @splitsoftware/splitio # or 'yarn add @splitsoftware/splitio' if using yarn dependency manager
Additionally, SDK can be used with React-Native-CLI. You can take a look at the React Native getting started guide if you want to test on your own application.
$ npm install -g react-native-cli
$ react-native init ReactNativeSdkExample
$ cd ReactNativeSdkExample/
$ npm install --save @splitsoftware/splitio # or 'yarn add @splitsoftware/splitio' if using yarn dependency manager
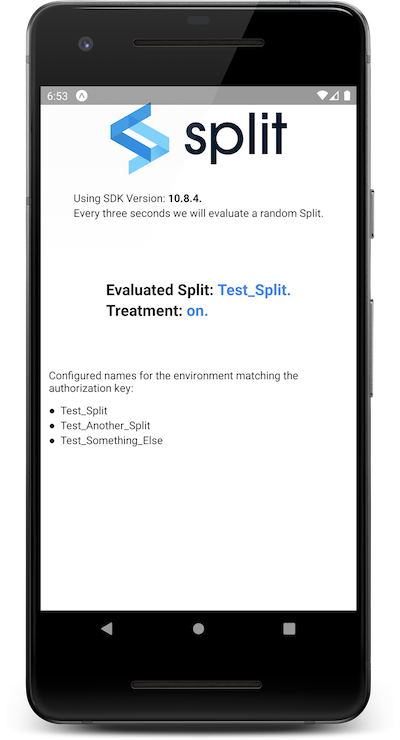
When running you should see a screen like the image below (taken from an Android device).
Prerequisites
You'll need Node.js. We recommend that you use the latest LTS version.
Second thing you'll need is to install Expo-CLI with the command npm install -g expo-cli.
To run the app, first change the '' string in the App.js file with the browser key of your Split environment. Optionally, you can try a localhost configuration as the example below:
const factory = SplitFactory({
    core: {
        authorizationKey: 'localhost',
        key: 'react_native_example'
    },
    features: {
        'Test_Split': 'on',
        'Test_Another_Split': 'dark',
        'Test_Something_Else': 'off'
    }
});
Then call npm install and npm start. If any error rises when trying to run the app in the Android or iOS emulator, consider updating Expo-Cli or reinstalling the Expo app in your emulator.
More information on the available scripts below.
Available Scripts
If Yarn was installed when the project was initialized, then dependencies will have been installed via Yarn, and you should probably use it to run these commands as well. Unlike dependency installation, command running syntax is identical for Yarn and NPM at the time of this writing.
npm start
Runs your app in development mode.
Open it in the Expo app on your phone to view it. It will reload if you save edits to your files, and you will see build errors and logs in the terminal.
npm test
Runs the jest test runner on your tests.
npm run ios
Like npm start, but also attempts to open your app in the iOS Simulator if you're on a Mac and have it installed.
npm run android
Like npm start, but also attempts to open your app on a connected Android device or emulator. Requires an installation of Android build tools (see React Native docs for detailed setup). We also recommend installing Genymotion as your Android emulator. Once you've finished setting up the native build environment, there are two options for making the right copy of adb available to Create React Native App:
Using Android Studio's adb
- Make sure that you can run adb from your terminal.
- Open Genymotion and navigate to
Settings -> ADB. Select “Use custom Android SDK tools” and update with your Android SDK directory.
Using Genymotion's adb
- Find Genymotion’s copy of adb. On macOS for example, this is normally
/Applications/Genymotion.app/Contents/MacOS/tools/. - Add the Genymotion tools directory to your path (instructions for Mac, Linux, and Windows).
- Make sure that you can run adb from your terminal.
npm run eject
This will start the process of "ejecting" from Create React Native App's build scripts. You'll be asked a couple of questions about how you'd like to build your project.